cortx allows users to build their own custom AI agents to address specific business needs, reduce hallucinations, and eliminate generic outputs. Instead of relying on all-purpose agents, users can create domain-specific agents that act as subject matter experts.
🔹 Example Use Cases:
- A coding agent trained on programming knowledge.
- A design agent trained on design systems and principles.
These agents provide more relevant, context-aware responses tailored to the user’s domain.
cortx allows you to create custom AI agents in two ways:
- Manual (UI-Driven): Full control via structured setup
- Prompt-Based (Conversational): Guided agent creation through a Q&A chat flow
Both methods result in deployable, reusable agents across your workspace.
Manual Agent Creation (UI-Driven):
Use this method when you want full control over your agent’s components — ideal for workflows that require specific logic, compliance, or tool integration.
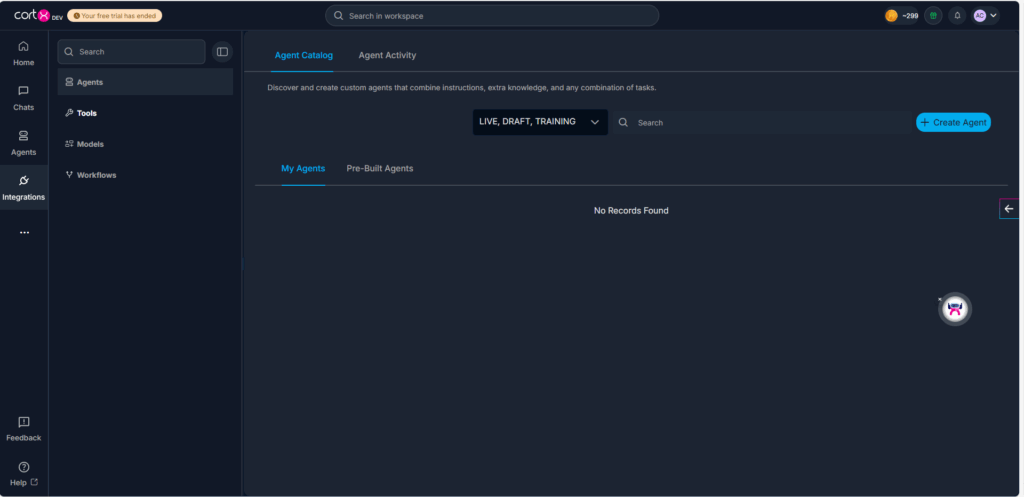
Step 1: Navigate to Agent Catalog
- Navigate to Left Nav > Agents > Agent Catalog
- Click on Create Agent button, beside the search bar
- This launches the Agent Builder interface
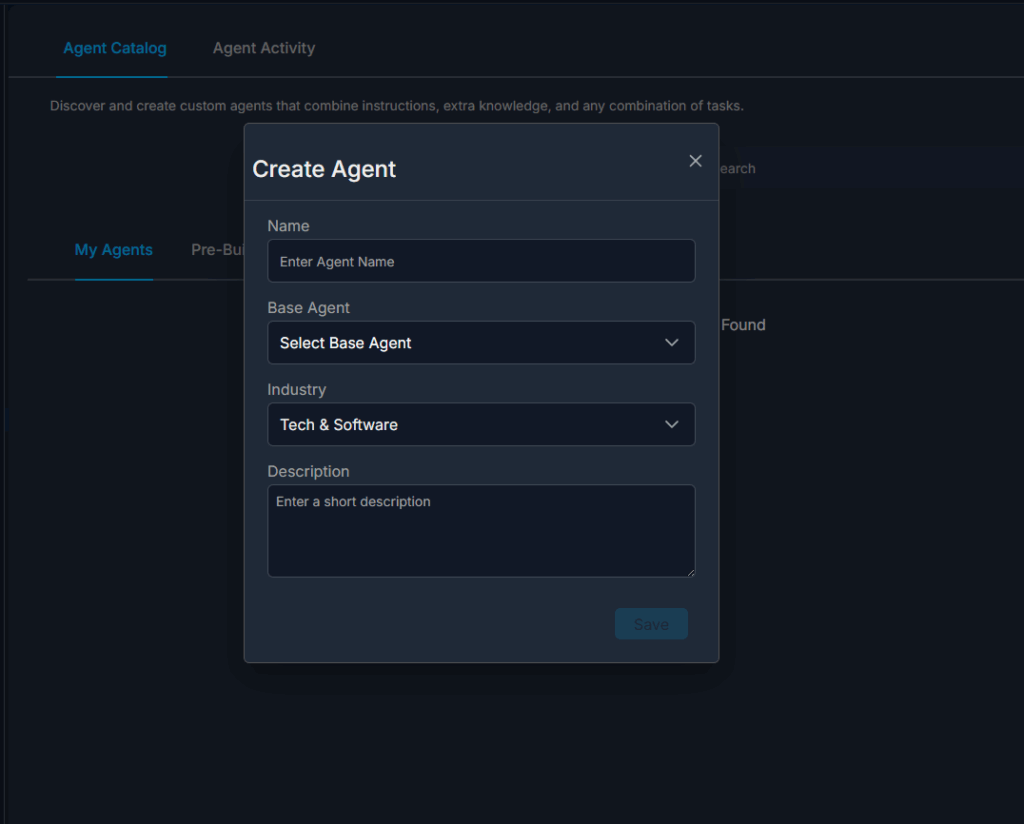
Step 2: Define Basic Agent Details
- Fill out the initial details:
- Agent Name
- Base Agent
- Industry
- Brief Description
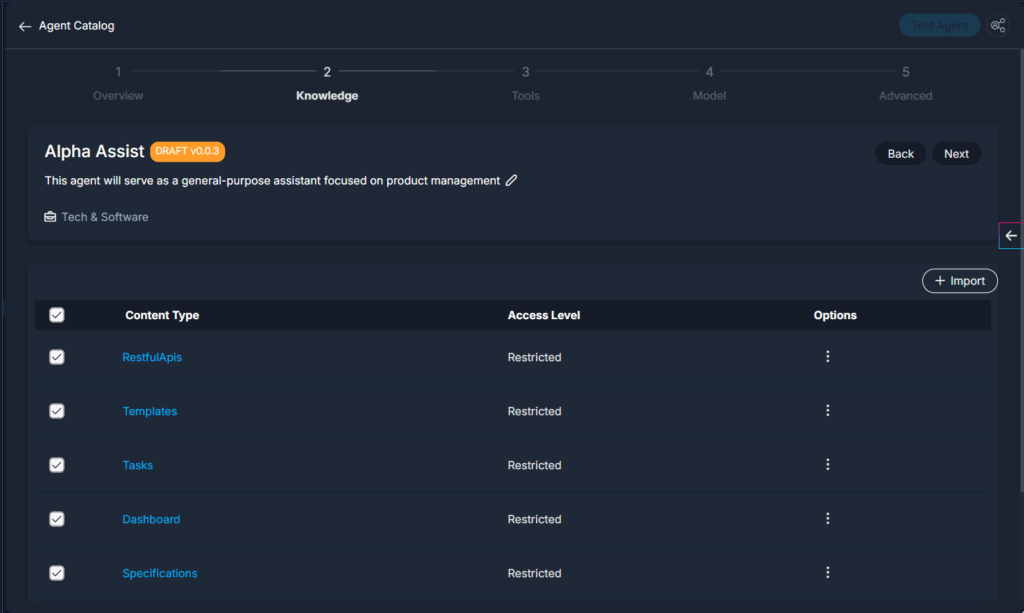
Step 3: Connect Knowledge Sources
Give your agent access to the information it needs:
- Select files, folders, data sources, or documents from cortx
- Choose multiple sources as needed
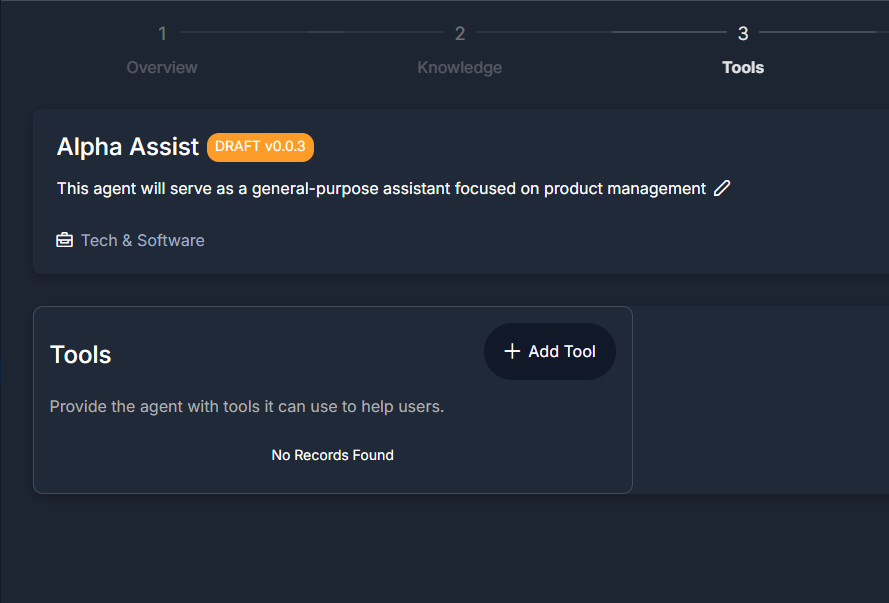
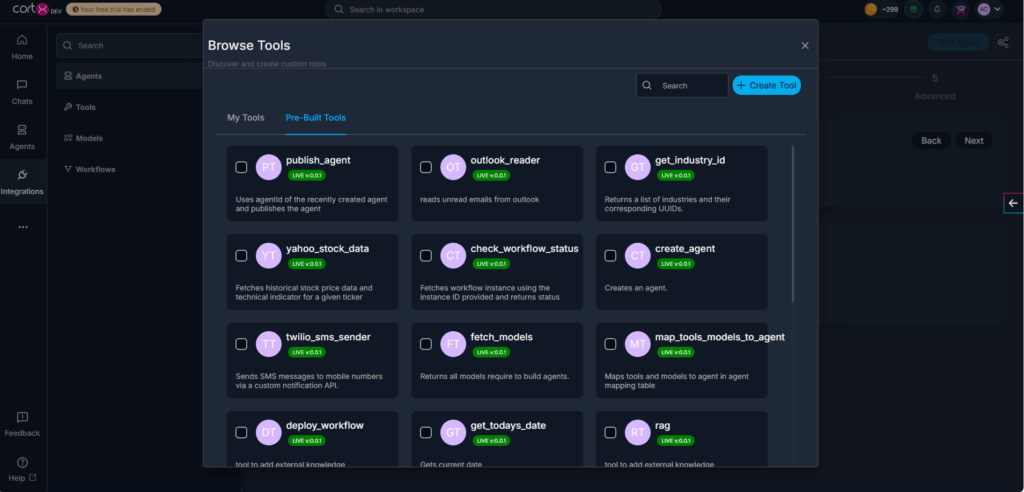
Step 4: Add Tools (Action Layer)
Tools define what actions your agent can perform.
How to add tools:
- In the Agent Builder > Click on Add Tool button
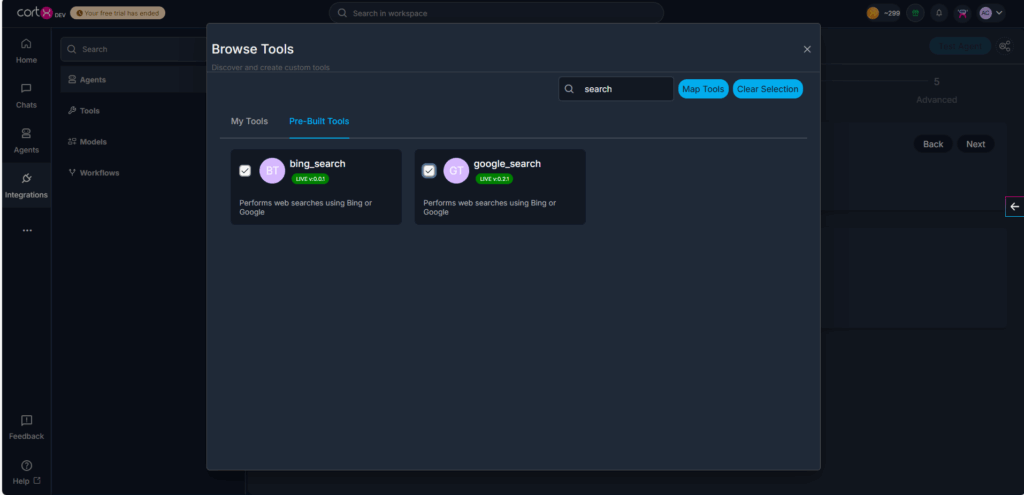
- To select a tool from pre-built library:
- Select Pre-Built Tools tab
- Select tool or browse by key word in search bar
- Click Map Tool button
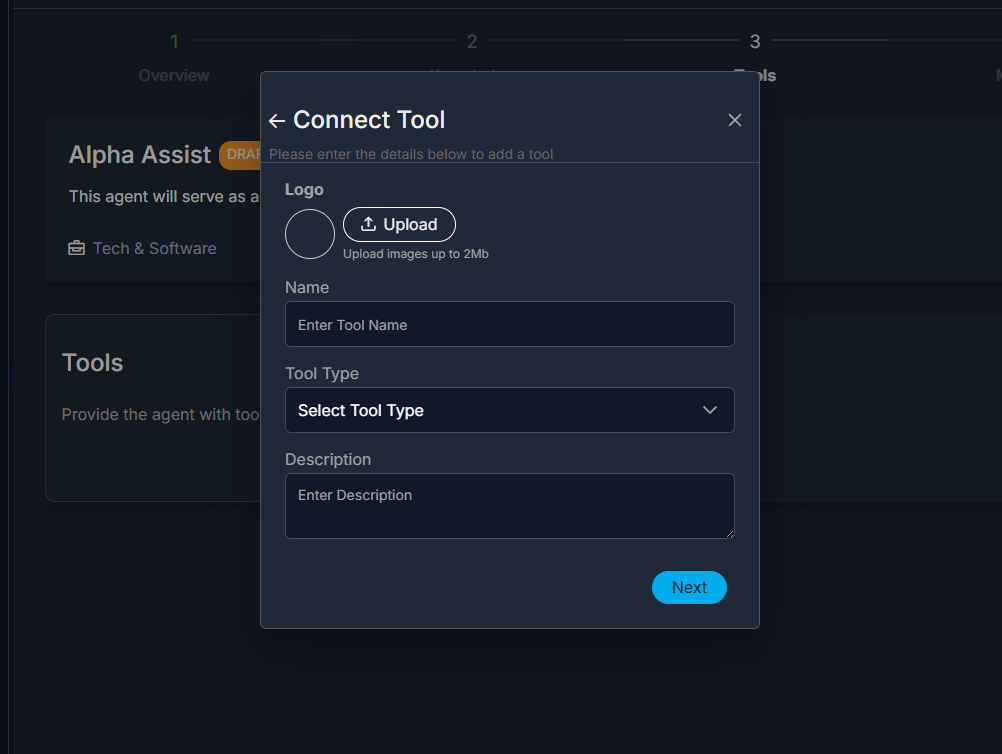
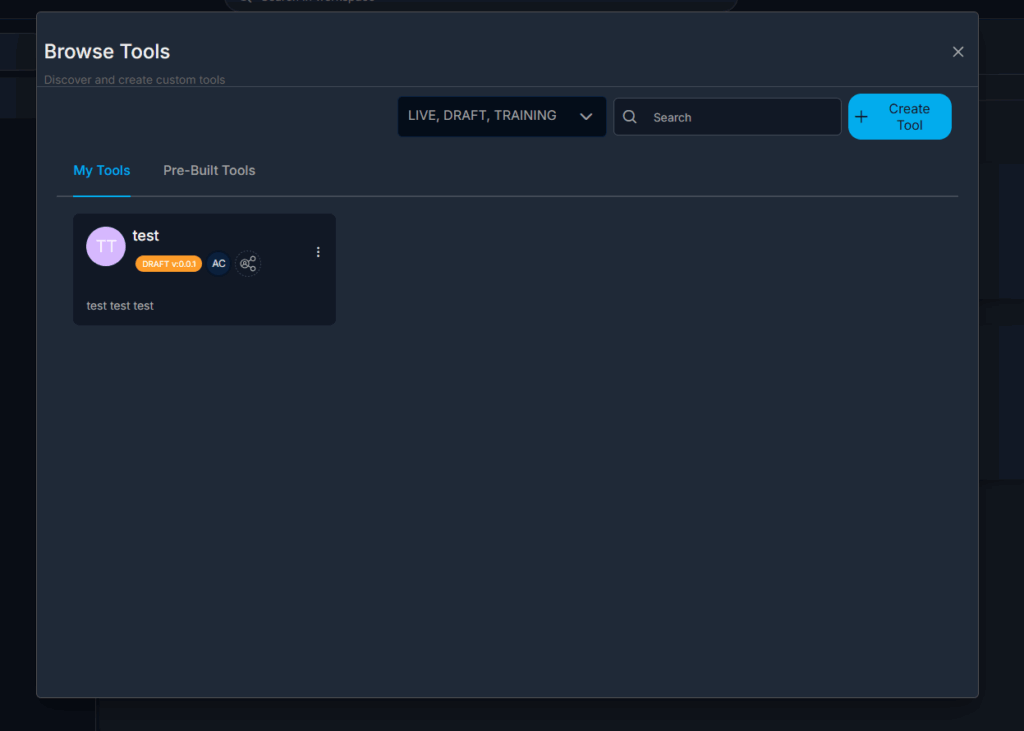
- To create a new tool:
- Click on Create Tool
- Fill the text fields, proceed to next
- Fill the advanced fields as well and proceed to add.
- You have created a new tool, which you can find in the My Tools Section
Step 5: Choose a Model (Intelligence Layer)
Choose a reasoning engine for the agent:
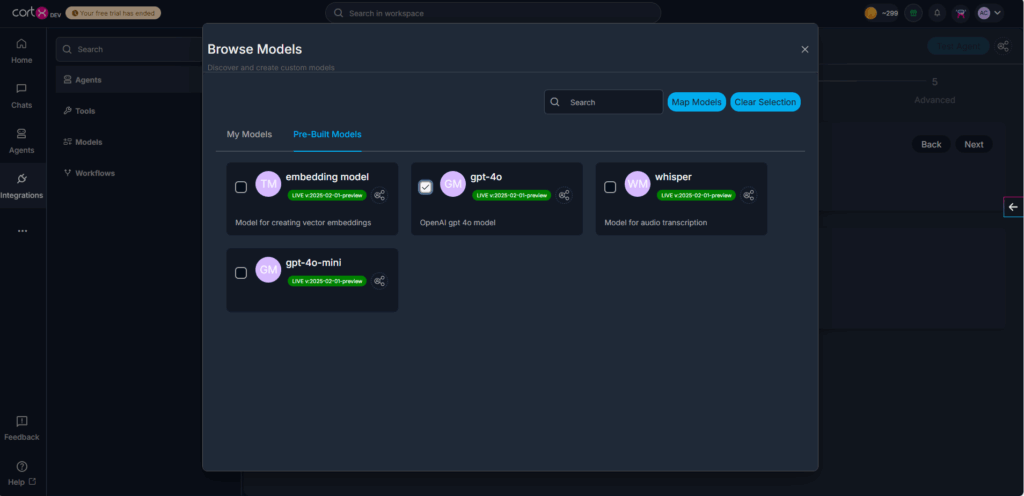
- Click on Add Model Button
- To select an existing model, navigate to pre-built models tab.
- Select a model and click on Map Model Button to add and proceed to next.
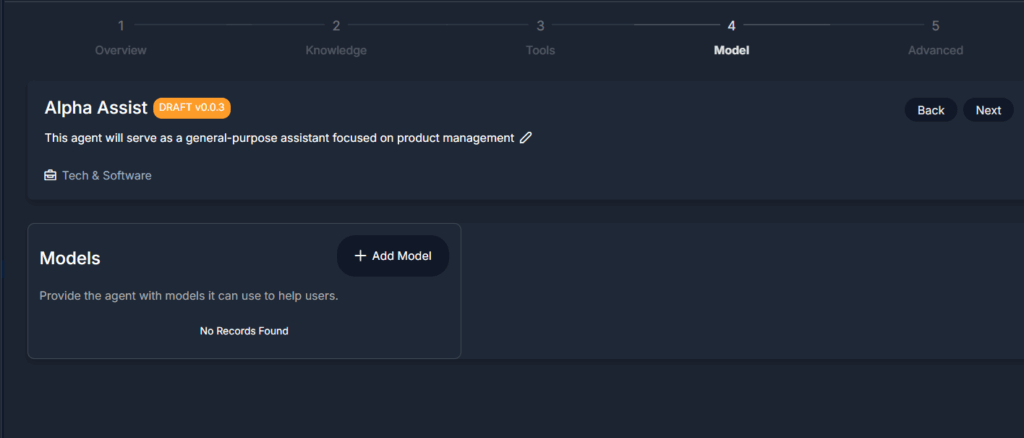
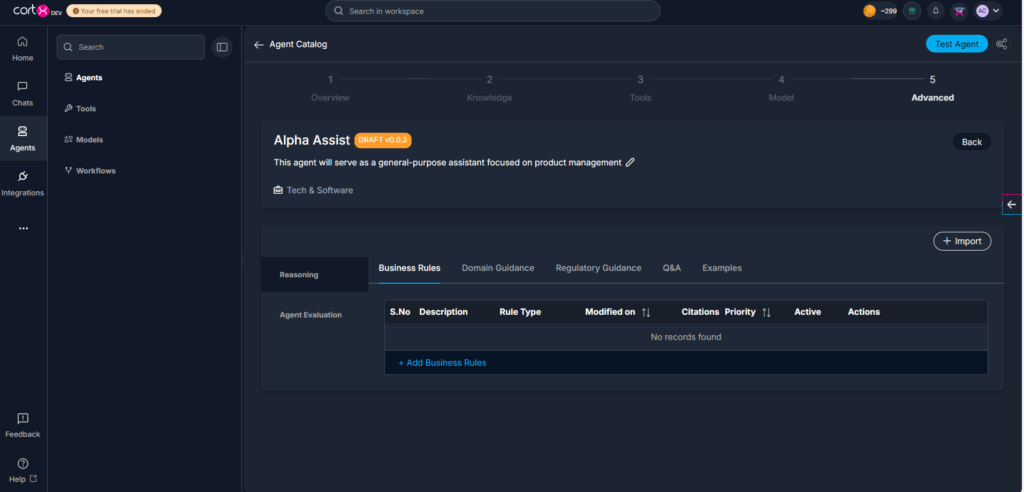
- Add any applicable guardrails like Business rules, Domain Guidance, Regulatory Guidance, Q&A and Examples.
- Click on Test Agent button on the top, and confirm
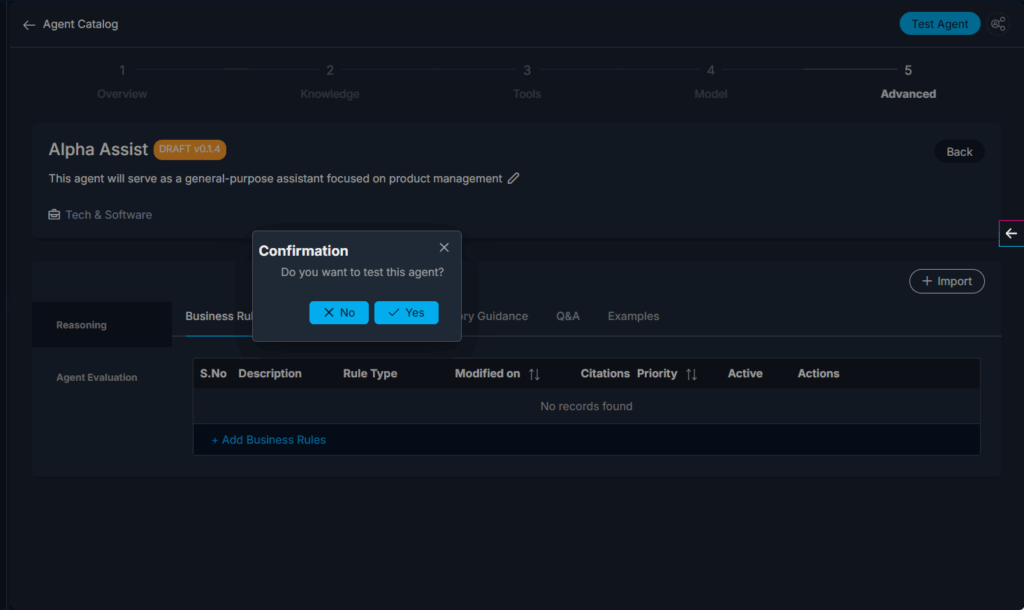
- Click on the Chat icon to test the agent in chat. Or click on Publish to directly publish the agent.

- The Agent is now published now and can be seen in the “My Agents” section and available to use in:
- Conversations
- Workflow steps
- Programs or templates
Prompt-Based Agent Creation (Conversational Flow)
Use this method when you want to create an agent quickly by describing it in natural language — no configuration panels needed.
- Start a New Chat
- Start a New Chat session
- From the dropdown, choose Agent Builder Agent
- State Your Intent
- Type a plain prompt describing the agent you want.
- Example prompts:
- “I want an agent that sends weekly updates to my stakeholders
- “Build me an agent that summarizes all meeting notes and pushes them to SharePoint
- “Create a roadmap planner agent for engineering sprints”
- Example prompts:
- Type a plain prompt describing the agent you want.
- Answer Builder’s Questions
The Agent Builder will now begin a guided Q&A flow. It may ask:
- “What should we name your agent?”
- “What do you want this agent to do, specifically?”
- “Do you want this to run on demand or on a schedule?”
- “Should it send emails, generate a document, or push data somewhere?”
- “What tools or integrations should it connect to?”
- “Do you want a specific LLM to power the logic?”
Respond naturally — cortx will extract structured data from your answers.
4. Confirm Agent Configuration
Once you’ve answered all required questions, cortx will show a summary:
- Name
- Description
- Connected tools
- Model selected
- Task logic written by the system
You can:
- Approve and save
- Ask to modify something
- Or cancel and restart
5. Finalize and Save
Once confirmed:
- The agent is automatically saved under My Agents
- You can now trigger it in future conversations, workflows, or templates
- All metadata (model, tools, logic) is visible and editable later if needed