Introduction to Templates
Templates in cortx allow you to define standardized document structures using section titles and descriptions. They streamline how teams create:
- BRDs (Business Requirement Documents)
- Dashboards
- Project reports
- SOPs
- Roadmaps
How It Helps
- Speeds up document creation by eliminating manual input.
- Ensures consistency across all generated content.
- Reduces human errors with AI-assisted automation.
How to Use
In cortx, templates are not just static structures, they’re dynamic tools used to generate structured content and trigger downstream actions.
- Begin by having a detailed conversation in the Conversational Workspace or upload a transcript of a meeting or discussion. This conversation can involve discussing project requirements, features, design elements, or any other relevant topics with your team or Navi.
- Click on the Summarize button. Navi will analyze the conversation and create a concise summary, capturing all the key points, actions, and insights.
- Content generation in cortx can be done in two ways:
- Giving a Prompt to Navi in the conversational space
- Example prompts: “Create a BRD for a new onboarding process”, “I need a spec for a product launch”
- Select the Doc Icon in the input tray after summarizing a conversation or document.
- Giving a Prompt to Navi in the conversational space
- Navi will prompt you to Select a Template
- Automated Output Generation
- Depending on your selection:
- Specification Templates: To generate a structured BRD or detailed document.
- Dashboard Templates: To create a modular dashboard view (blocks, cards, lists) and surface high level summaries based on inputs.
- Depending on your selection:
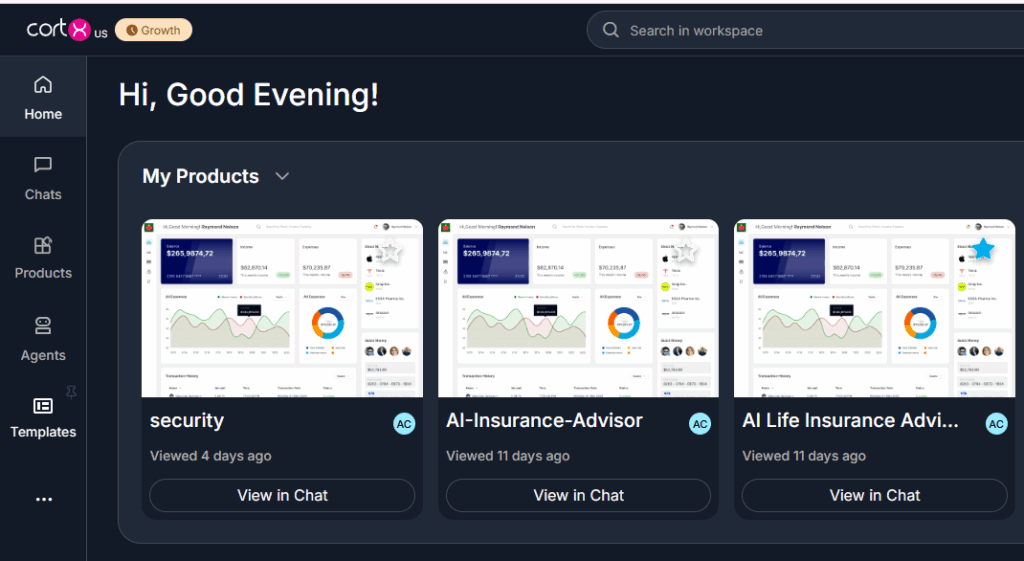
- Finding Outputs
Generated outputs (BRDs, Dashboards) can be found under Products section. From Products, user can:
- View documents and dashboards created from templates (e.g., BRDs, SOPs)
- Regenerate, track, or share content created using templates
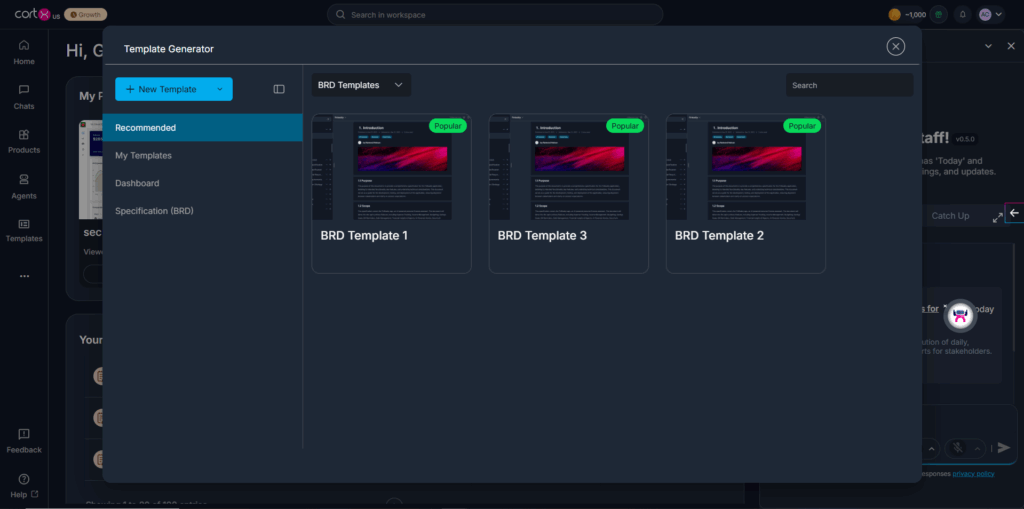
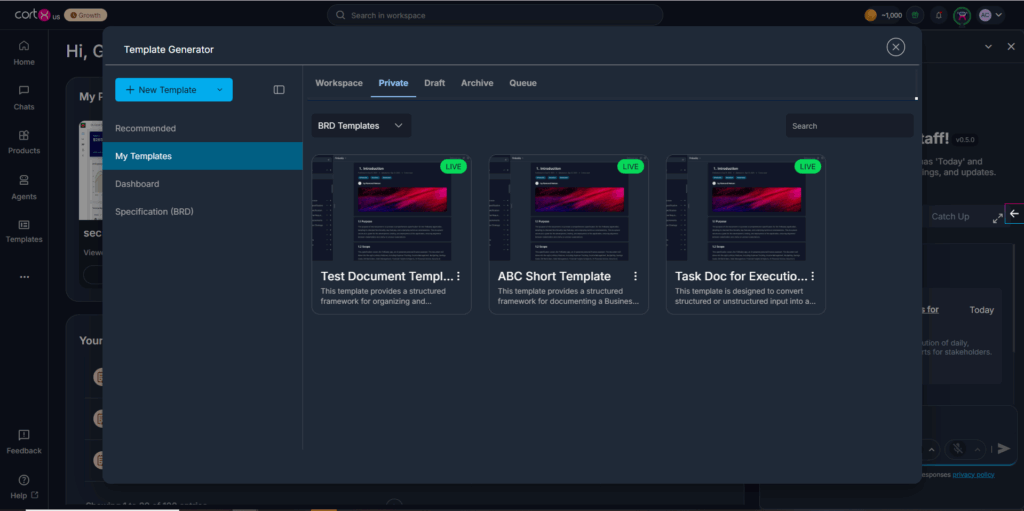
- Accessing Templates
From the Left Navigation Panel click on “Templates” to open the Templates dashboard.
- Template Categories
- Recommended – pre-built templates curated by cortx
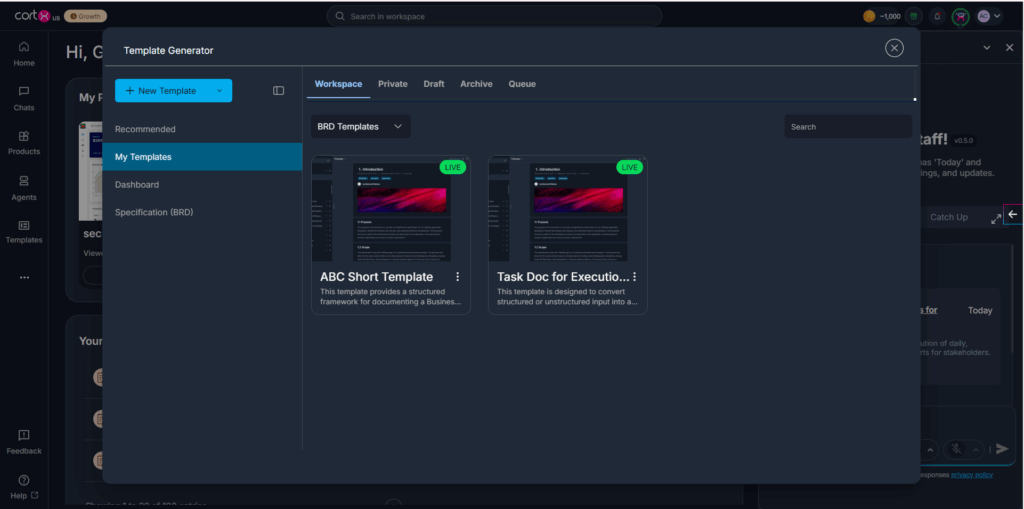
- My Templates – Templates you’ve created
- Specification (BRD) – For structured documents
- Dashboard – For visual summaries
- Template Statuses
- Drafts – Editable WIP templates
- Queue – Currently generating
- Private – Published, visible only to you
- Archived – Inactive, but recoverable
Creating a New Template
- Click New Template
- Choose from available template types: BRD Template (for Business Requirement Documents) and Dashboard Template (For project reporting and tracking)

- Enter a Title & Description
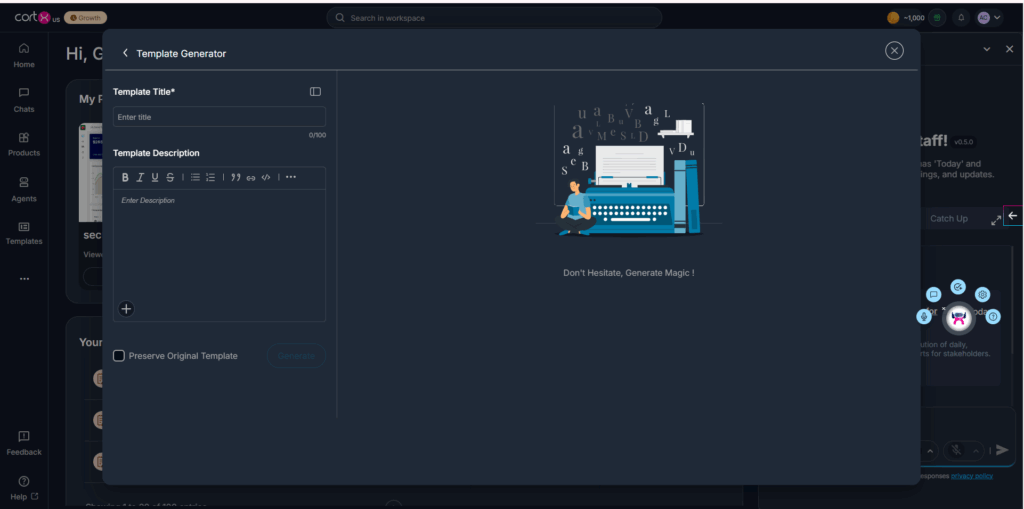
- Click Generate to create your template.
- Once the user clicks on “Generate” the template is pushed to ‘Queue’ state and then ‘Draft’ state
- To edit/publish the template, Navigate to My Templates, click on Hover> Edit
- Edit the details and map the template to relevant agents and click on save as draft
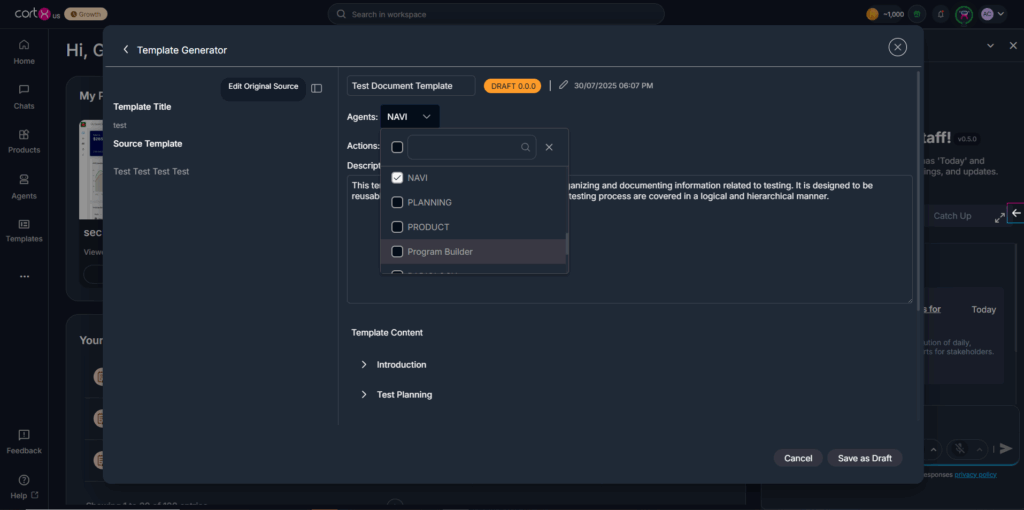
- Confirm changes, by clicking Yes
- Publish Template, by clicking on Publish button

- Find the custom-built template in My Templates as ‘Live’
Roadmap Generation
When generating content via BRD templates, users can optionally request additional execution outputs like Roadmaps.
The Roadmap in cortx allows you to transform your specification documents into a structured, version-aligned plan of execution, organized as epics, features, and user stories. It offers full visibility and traceability as your product evolves.
Creating a Roadmap
Every time you create or update a specification, you can generate a corresponding roadmap version to reflect the current scope of work.
- Navigate to a product from your workspace.

- Click on the Roadmap icon on the left.
- Click on the Generate Roadmap button
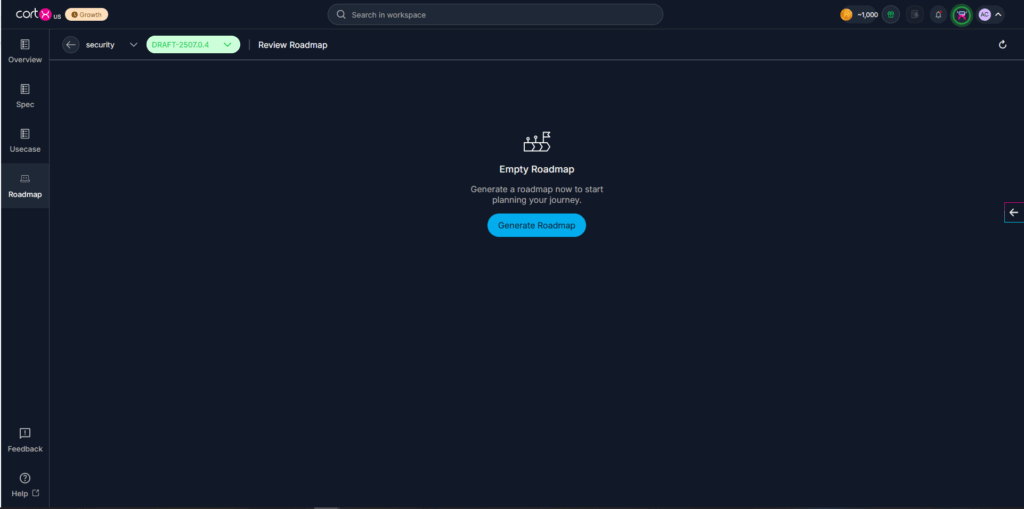
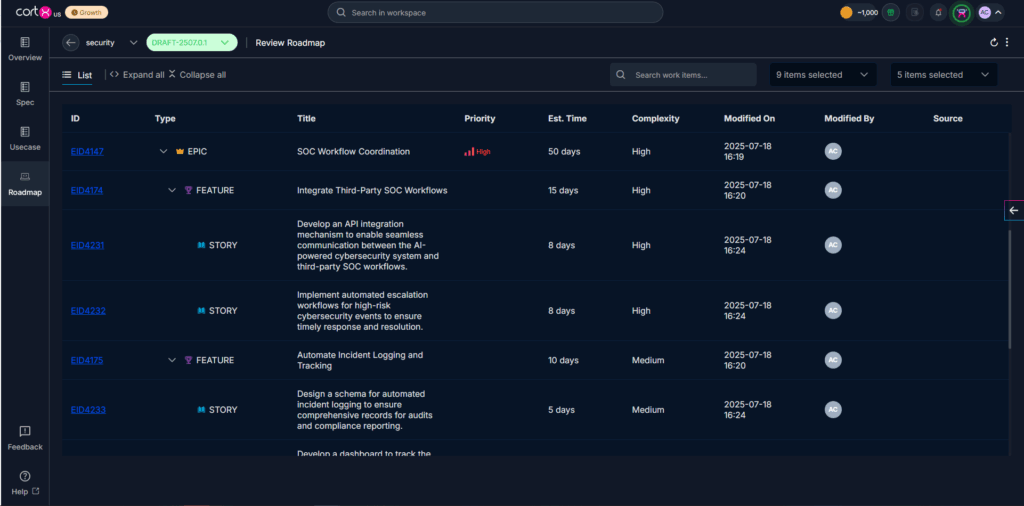
- Detailed Roadmap is created reflecting the book of work created in spec broken down into
- EPICS: Highest-level grouping of work aligned to a major goal.
- Features: Mid-level scope nested within an epic.
- User Stories: Smallest unit of work, typically assigned to an individual.
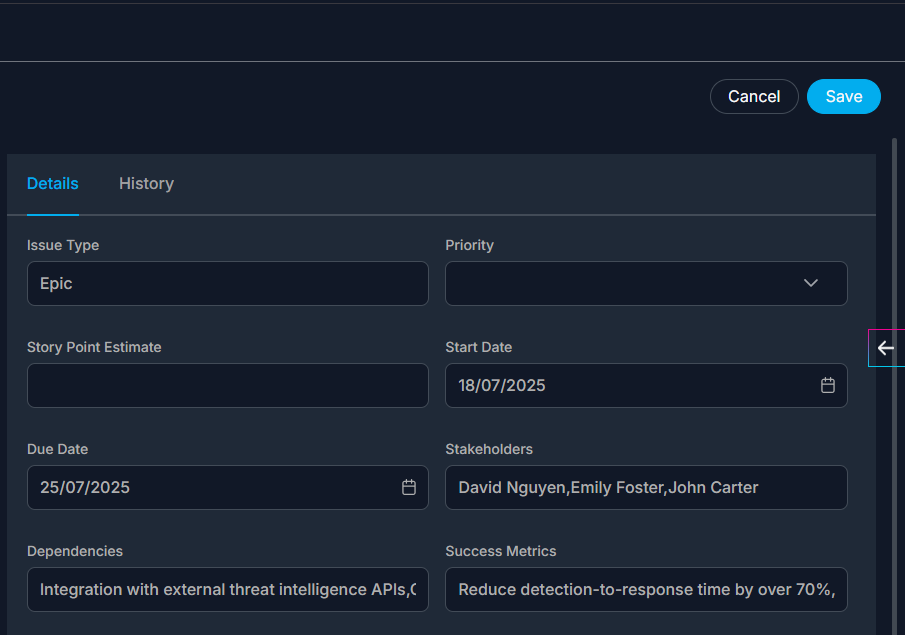
Editing a Roadmap
- Click on the ID of the generated Work Item in the roadmap table.
- You’ll be taken to the Detail View of the work item.
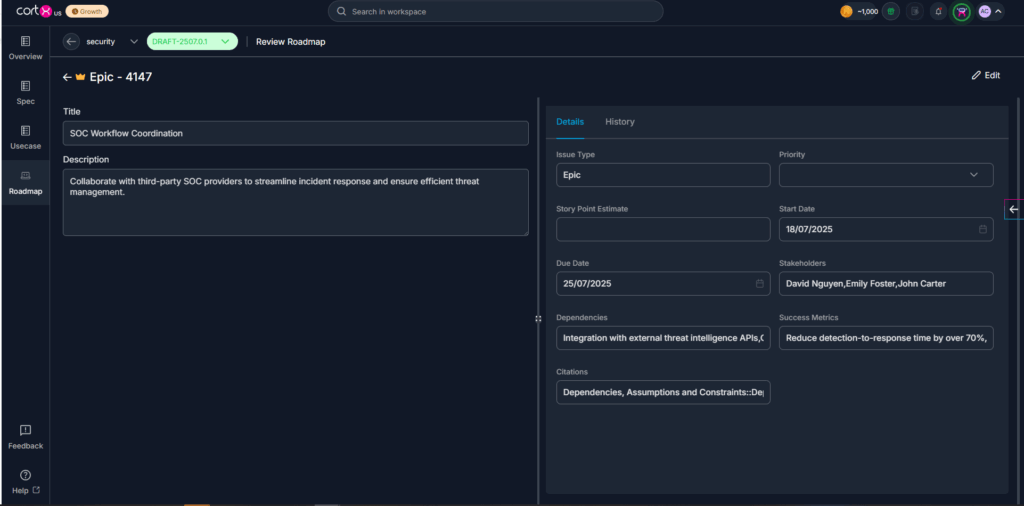
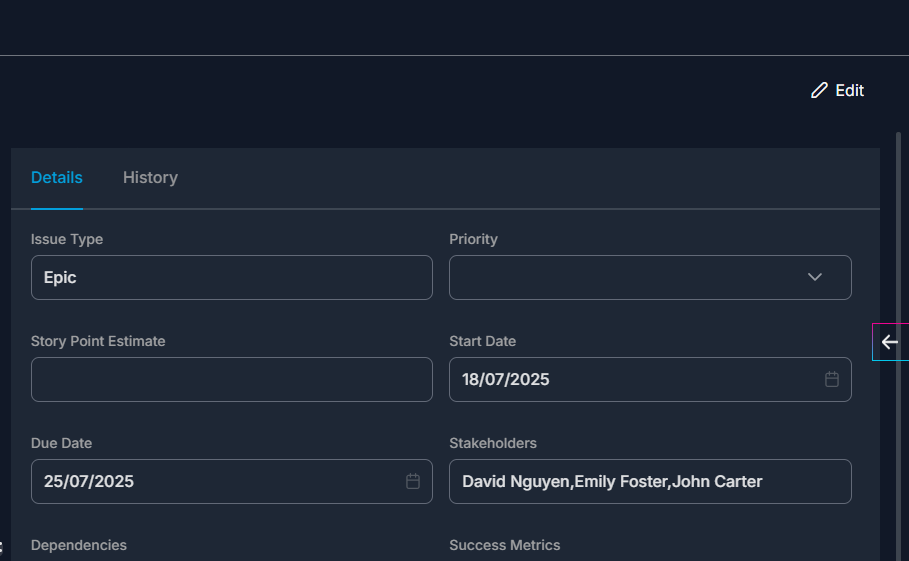
- Click on the Edit button on the right to edit the following:
- Title
- Description
- Start and End Dates
- Priority
- Owner
- Story points and Citations
- Click on the Save button to update the Roadmap.