What is a Workspace?
A workspace in cortx is a dedicated digital environment where teams can collaborate, store documents, and manage workflows efficiently. Workspaces allow users to organize projects, assign tasks, and share resources in a structured way.
🔹 Each workspace can be customized based on the team’s needs.
🔹 Users with only Admin or Workspace Owner privileges can create or manage workspaces.
🔹 You can create multiple workspaces for different projects or teams.
Creating a New Workspace
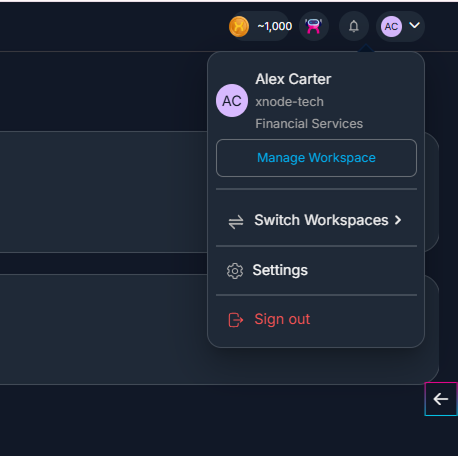
1. Go to Manage Workspace – Click your avatar (top right corner) and select Manage Workspace from the dropdown.
2.Open the Actions Menu – On the workspace dashboard, click the Actions button and select Create Workspace.

3. Fill in Workspace Details – Enter a name, description, and choose a permission level:
- Private – Only the owner has access.
- Public – Anyone in the entity can see and join.
- Shared – Only invited members can access.
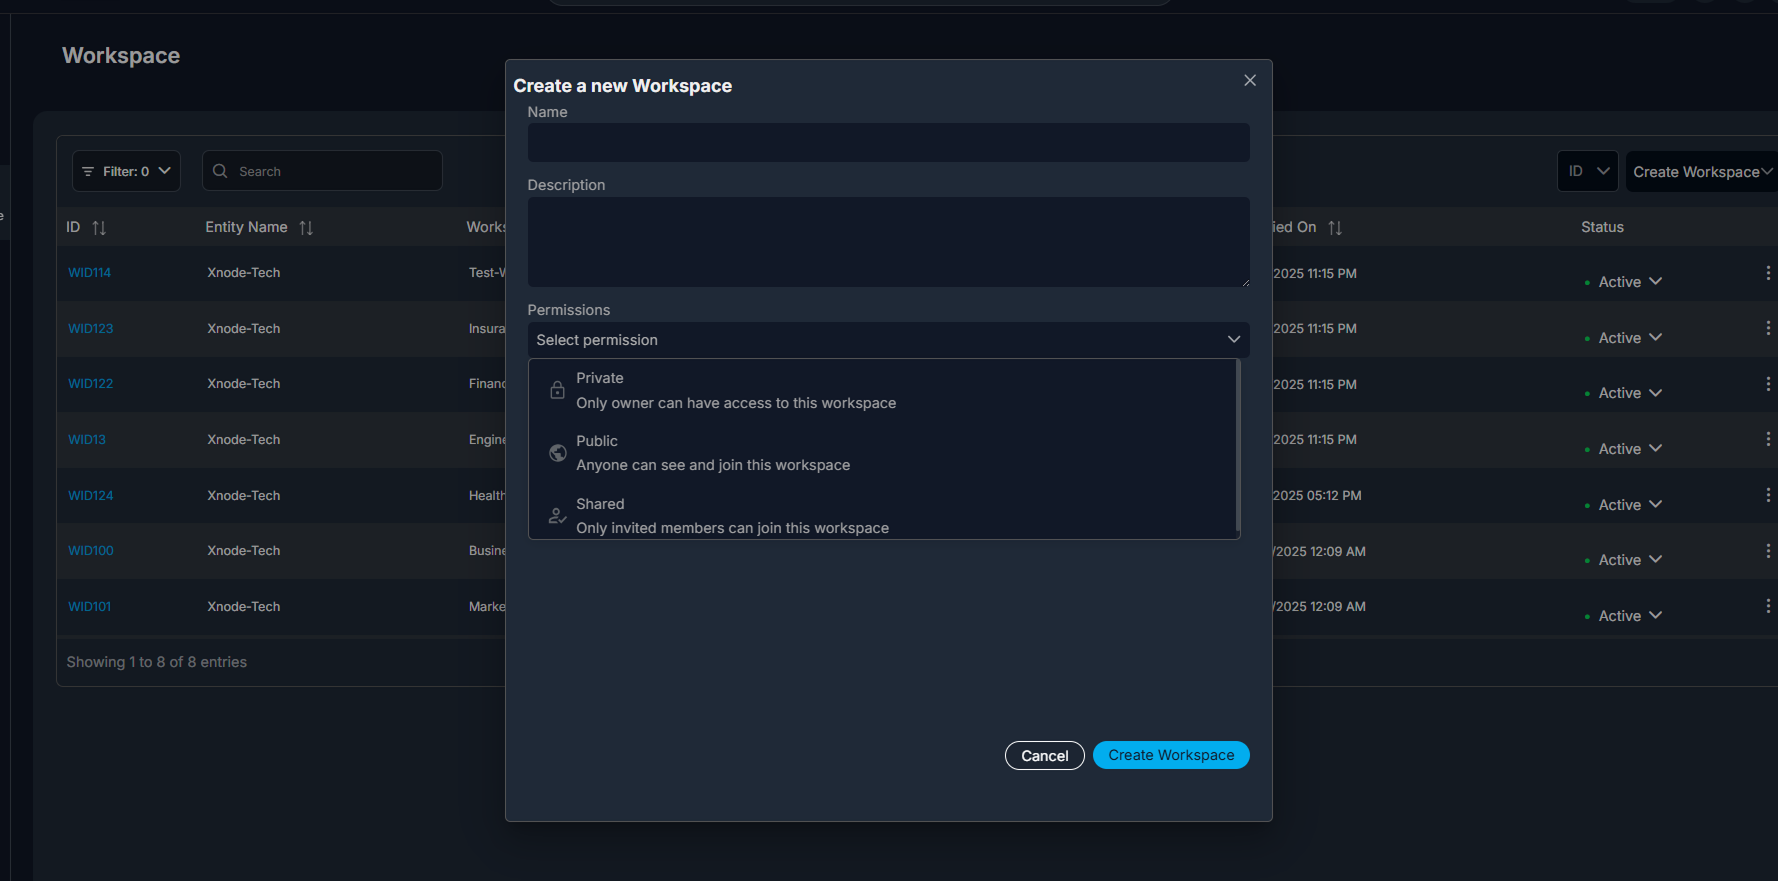
4. Create the Workspace – Click Create Workspace, and it will be instantly set up.
✅ Your workspace is now ready! Start adding members, managing projects, and assigning AI Agents.
Managing Existing Workspaces
1. Go to Manage Workspace – Click your avatar (top right corner) and select Manage Workspace from the dropdown.
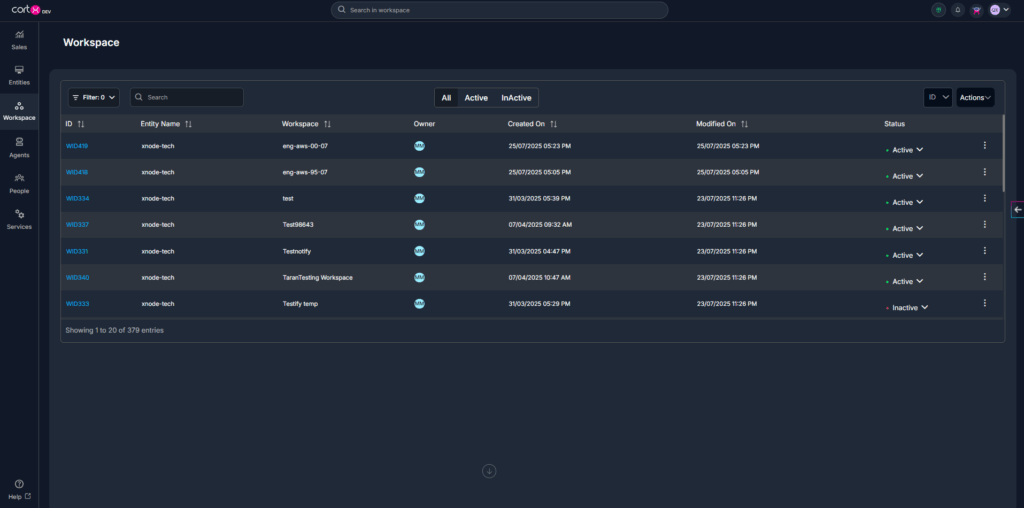
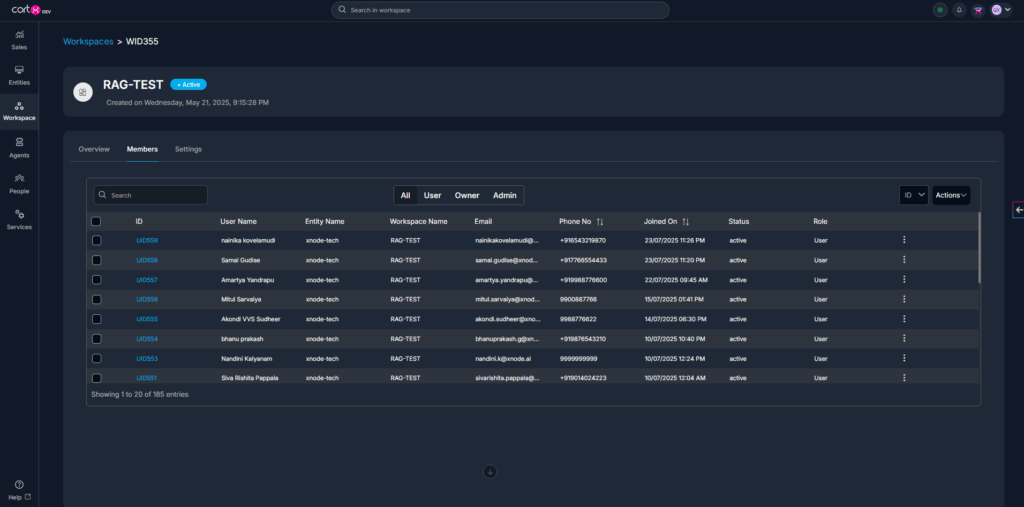
2. Select a Workspace – In the workspace dashboard, view All, Active and Inactive workspaces and click on the one you want to manage.
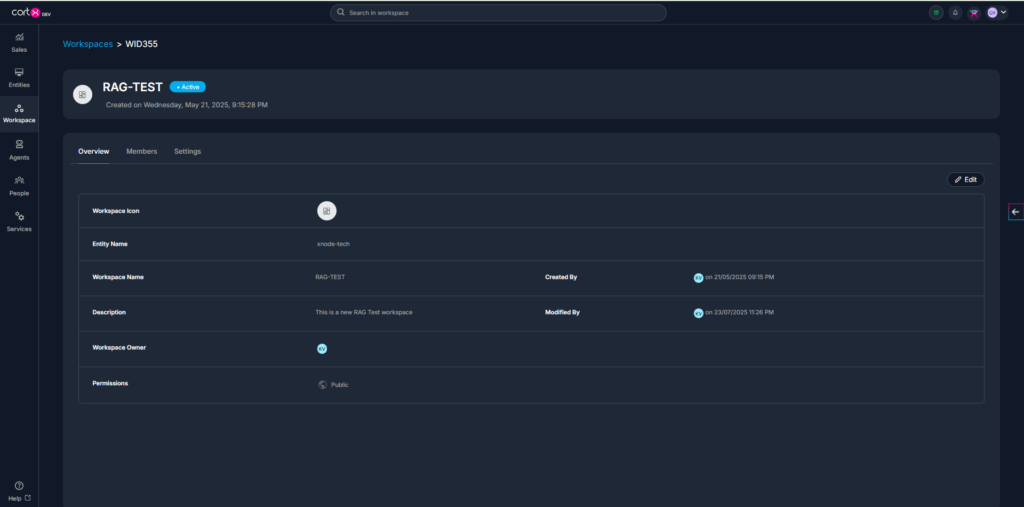
3. Navigate Through a selected Workspace
- Overview – Update workspace name, description, entity name, and permissions.
- Members – View all active users, remove members, or invite new ones.
- Settings –Assign AI Agents, configure integrations, control workspace-wide settings (Eg: Bidirectional data flow toggle to manage data flow between cortx and connected apps), or delete the workspace (admin-only).
4. Make Necessary Updates – Modify workspace details, adjust user roles, or enable AI-powered automation.
✅ Your workspace is now fully managed!